How to Build a Fence with Concrete Posts & Panels
A durable garden fencing guide – from Wood Green Timber
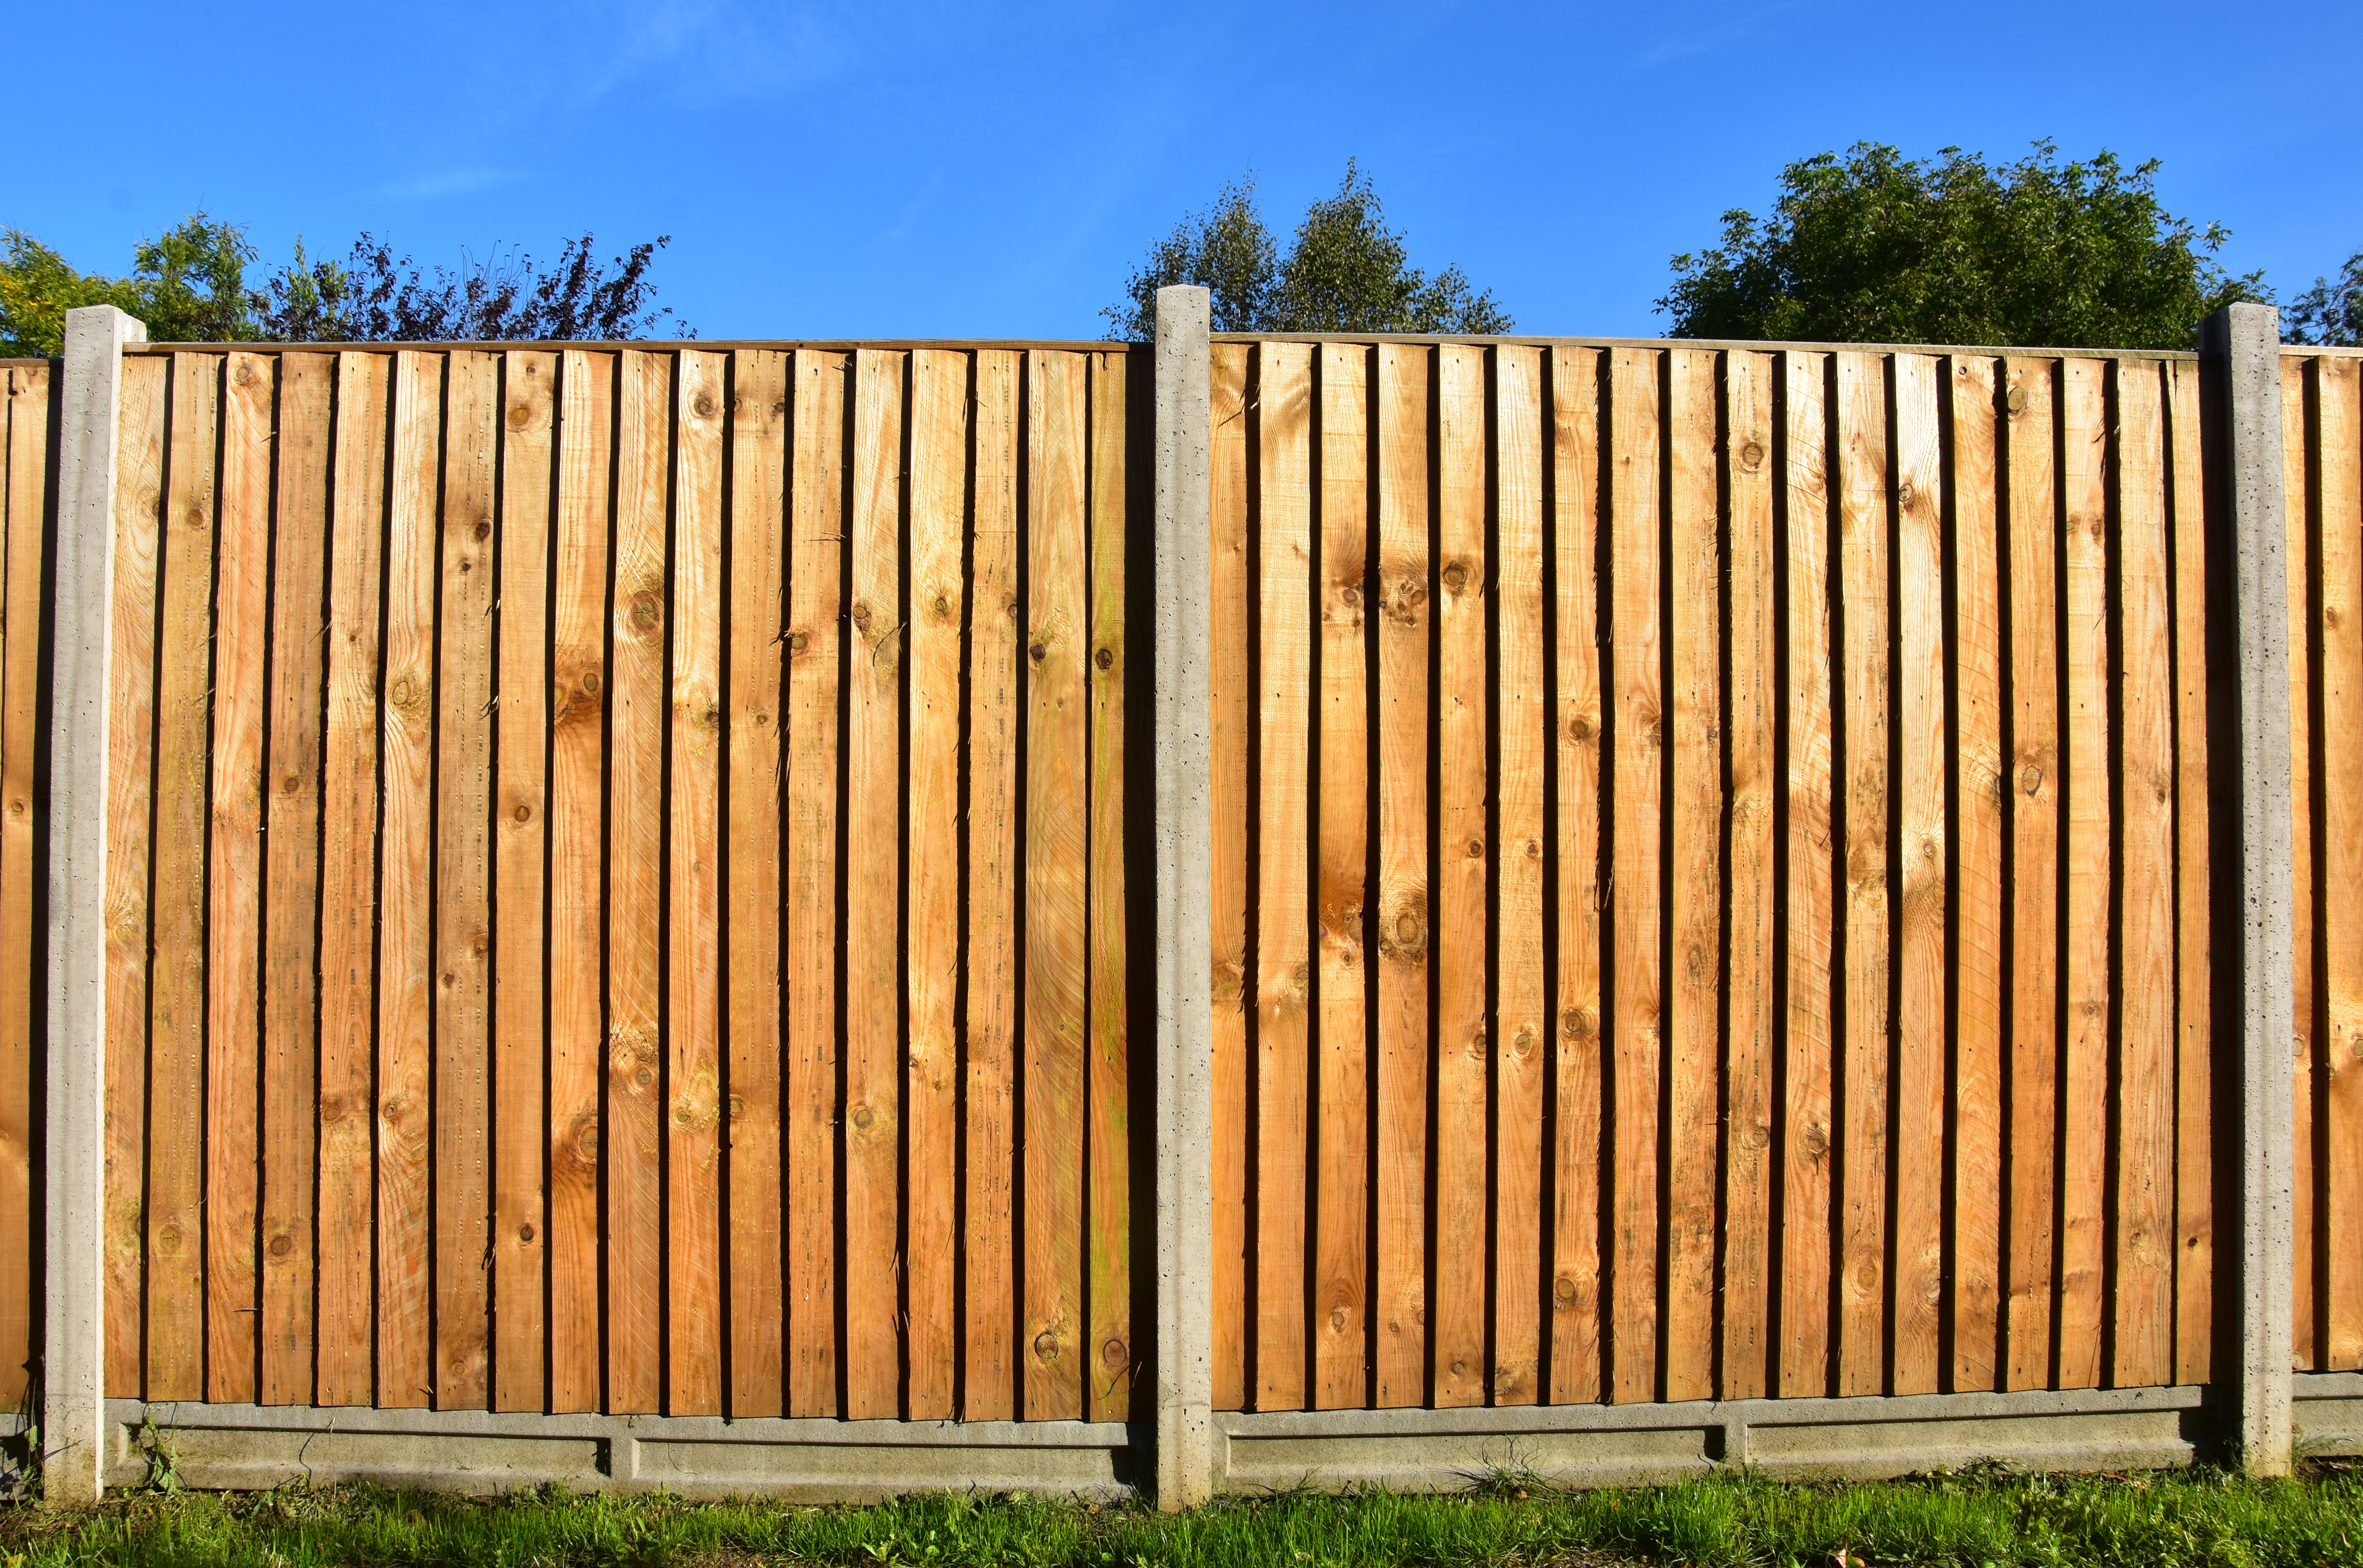
Concrete post fencing is a no-nonsense, long-lasting option for gardens and boundaries. Once it’s in, it’s solid for years — and you can easily slot in new panels when needed.
Here’s how to install a fence using concrete posts and gravel boards with timber fence panels, all available from Wood Green Timber.
What You’ll Need
From Us:
-
Concrete fence posts (intermediate & end posts)
-
Concrete gravel boards
-
Fence panels – Tylap (lap) or closeboard (featheredge)
-
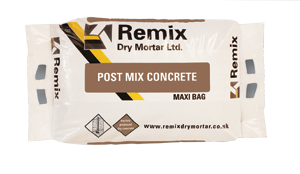
Post mix
-
Optional: fence caps, trellis toppers, or panel clips
Tools:
-
Spade or post hole digger
-
Tape measure
-
String line and pegs
-
Level
-
Spirit level or post level
-
Rubber mallet
Step 1: Plan and Measure
-
Mark your fence line with pegs and a tight string
-
Decide how many bays you need — most fence panels are 1.83m (6ft) wide
-
Mark post locations, allowing one concrete post between each panel
-
Make sure you have clearance for panel height and gravel board
Step 2: Dig Post Holes
-
Dig holes approx. 600mm deep and 300mm wide
-
Start with your end post
-
Use a level and string line to keep posts upright and in line
-
Drop the post in and fill with post mix — tamp it in firmly
-
Let it set for 5–10 minutes
Step 3: Add Gravel Boards
-
Once your first post is set, slot in a concrete gravel board
-
These keep timber panels off the ground and help prevent rot
-
If your garden isn’t level, consider using stepped boards or cutting panels to suit
Step 4: Slot In the Fence Panels
-
With the next post hole dug (and post still loose), slot your fence panel in between
-
Use a rubber mallet or padding to tap it down gently into position
-
Check the panel is level, then set the second post in post mix
-
Repeat for each bay, working one panel at a time
Step 5: Add Finishing Touches
-
Fit post caps or end trims if desired
-
Add panel clips or brackets for extra wind protection
-
Optional: finish the top of the fence with trellis panels
Why Go Concrete?
-
No maintenance – won’t rot, warp or lean
-
Great for windy or exposed sites
-
Easy to swap out panels when needed
-
Long-lasting with minimal upkeep
We’ve Got Everything In Stock
-
Concrete posts (intermediate and corner)
-
Concrete gravel boards (recessed only)
-
Timber fence panels – lap and closeboard
-
Post mix, caps, fixings and more
-
Fast local delivery across North London and Hertfordshire
Need help working out quantities? Just give us your fence length — we’ll do the rest.
Wood Green Timber — solid products, proper advice, always happy to help.
Featured Products