How to Build a Decking Subframe
A straight-talking guide from Wood Green Timber
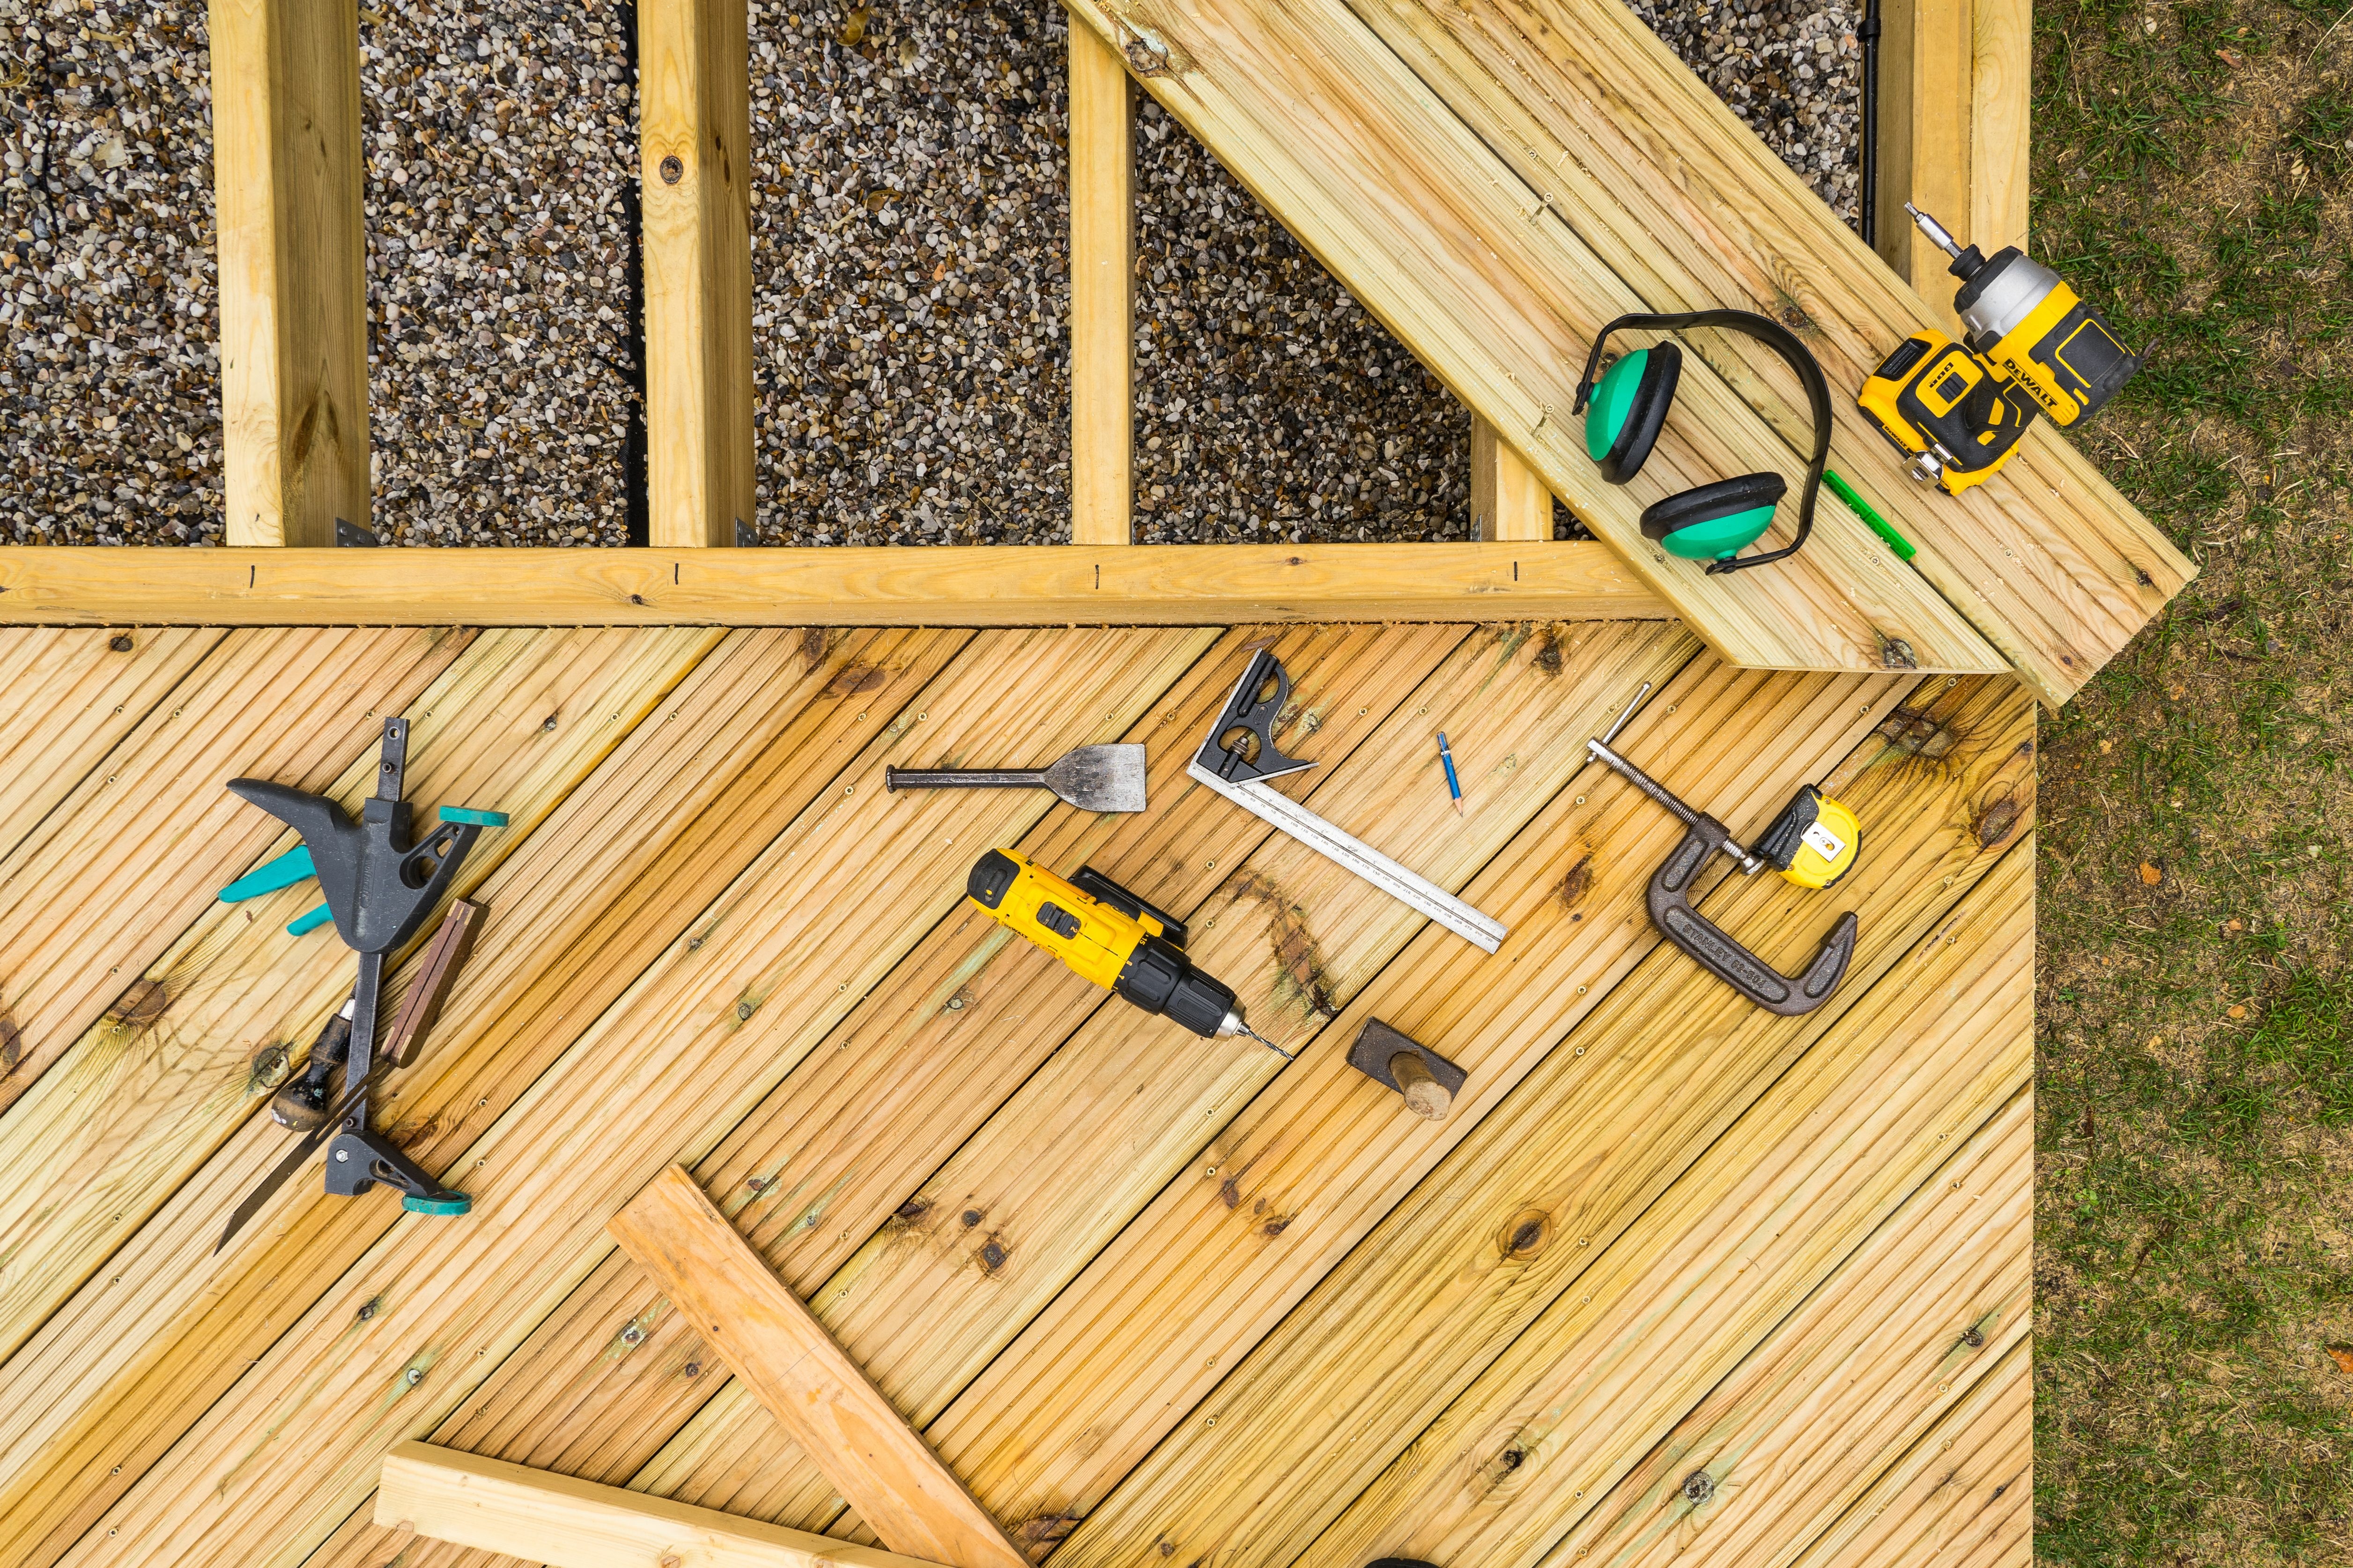
Whether you're building a small seating area or a full garden transformation, your decking is only as strong as the frame it sits on. A solid subframe is what keeps your boards stable, level, and long-lasting — so it’s worth getting right from the start.
Here’s a step-by-step guide to help you build a strong, timber subframe for softwood decking.
What You’ll Need
From Us:
-
Treated joists (typically 47x100mm or 47x150mm softwood)
-
Weed membrane
-
Coach screws or timber fixings
-
Concrete blocks, slabs, or posts
-
Joist hangers or brackets (if needed)
-
Decking boards (sold separately)
-
Postmix (if raising the frame)
Tools:
-
Tape measure
-
Drill/driver
-
Circular saw or hand saw
-
Level and string line
-
Spade (if digging posts)
-
Hammer or rubber mallet
Step 1: Plan Your Frame Layout
-
Measure your decking area and sketch out your frame
-
Decide which way your decking boards will run — your joists will run at 90° to this
-
Plan joist spacing — we recommend 400mm centres for softwood decking
-
Mark out your area using pegs and string
Step 2: Prepare the Ground
-
Clear the area of turf, weeds and debris
-
Lay down a weed membrane to reduce growth beneath the deck
-
If building on soft ground, place concrete blocks or slabs to support the frame
-
For raised decks, install 100x100mm posts in concrete using postmix
Step 3: Build the Outer Frame
-
Use treated softwood joists to create a rectangle to the size of your deck
-
Fix the corners securely using coach screws or brackets
-
Check for square and level as you go
-
If the deck is raised, fix the frame to your posts using bolts or heavy-duty fixings
Step 4: Add Internal Joists
-
Fix joists inside the frame at 400mm centres, running the full width of the deck
-
Add noggins (short horizontal pieces between joists) every 1.2m for extra stability
-
Use joist hangers, brackets or skew fixings to keep everything secure
Step 5: Level & Check
-
Use a long level and string line to ensure your subframe is flat and even
-
Adjust supports or packing blocks as needed
-
Make sure there's a slight fall away from buildings for water run-off (5–10mm over the deck)
Step 6: You’re Ready for Decking
-
Once your frame is secure, level, and fully supported — you're ready to lay your decking boards
-
Head over to our How to Lay Decking guide for your next steps
Need Materials? We’ve Got the Lot.
At Wood Green Timber, we stock:
-
Treated softwood joists in a range of sizes and lengths
-
UC2 treated timber for ground contact
-
UC3 and UC4 joists available to order
-
Posts, postmix, fixings and weed membrane
-
A full range of decking boards and accessories
If you’re not sure how much timber you’ll need, just bring us your measurements — we’ll help you work it out.
Pop into our Wood Green or Potters Bar branch, or give us a ring — we’re here to help.
Featured Products